Soft, Sweet, and Irresistibly Delicious
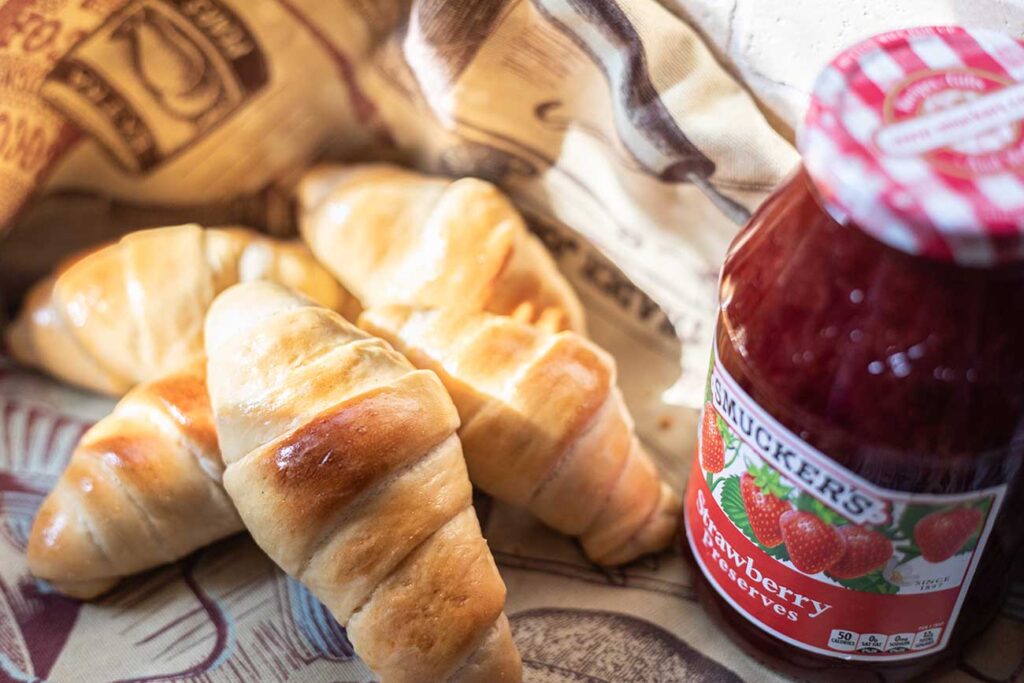
I started making bread when I realized that using a bread maker could yield delicious bread easily. At first, I made sandwich bread with the bread maker, which handles everything from mixing to baking, but once I discovered the dough mode, I found out that I could shape various types of bread with just a little effort. The ingredients are quite simple too. It’s cheaper than buying from a bakery, and most importantly, it’s free from unhealthy additives, making it a safe choice for my kids. In reality, homemade bread tends to get hard after a few days, but if you freeze it, you can enjoy it fresh and soft anytime. This is why I started. Considering cost, flavor, and health, it’s simply the best. When I Google ‘butter roll,’ it usually refers to a dinner roll unless you type ‘Japanese butter roll.’ The ingredients for dinner rolls and Japanese butter rolls are pretty much the same. The major difference lies in their shape. The Japanese butter roll is formed by stretching an isosceles triangle, rolling it up lightly, and shaping it into a rounded form that looks like a conch shell – you know, those cool seashells you find on the beach. They taste like dinner rolls – a bit sweet, super soft, milky, buttery, and fluffy. You can enjoy it as it is or with butter and jam. Japanese butter rolls are typically small in size, just a bit smaller than a baseball, but you can also use them to make sandwiches by adding lettuce and ham.Flour:
I know that bread flour is typically used for making bread. I used to keep bread flour in stock all the time, and it does tend to yield fluffier results. However, nowadays, everything has become so expensive. I don’t have any issues with using all-purpose flour to make bread. The taste is still great, and it looks just as good. So now I use all-purpose flour exclusively for making bread. It costs less, and I don’t need space for both bread flour and all-purpose flour.How to freeze and how long can they stay frozen?:
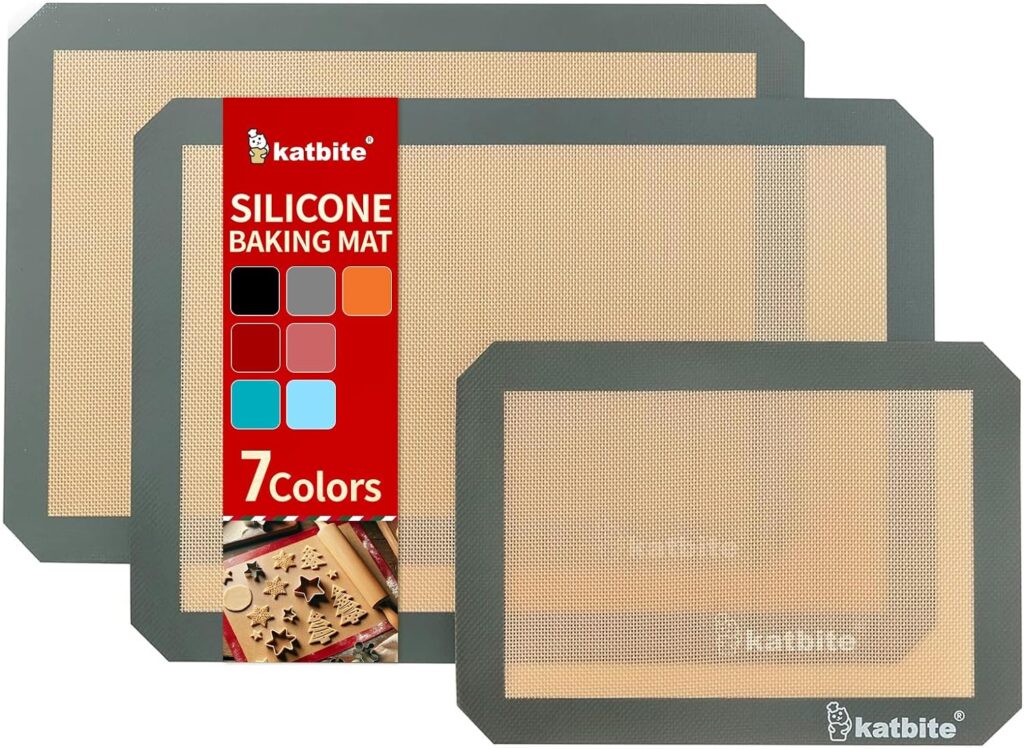
After I bake the rolls and they cool down a bit, I place them on a flat, thin pan lined with parchment paper. Then, I cover them with a plastic bag and carefully put them in the freezer, making sure they aren’t squashed by other items. They should be good for a few months, but I recommend eating them within a month because, as they age, they lose their freshness and might start to pick up a freezer smell.

Photo: Butter rolls on the flat pan with baking sheet in a bag.
Ingredients for 8 rolls:
- 200g All Purpose Flour
- 20g Butter
- 3g Salt
- 20g Sugar
- 3g Yeast
- 100g Milk
- 40g Egg
* Out of one egg, 40 grams is used as an ingredient for the bread, and the remaining egg is used to add shine to the bread.
If you’re a dog lover and own one, you can personalize a dog t-shirt! Here’s the link:
Instructions:
- Beat the egg with a fork
- Put butter, salt, sugar, eggs, milk, and flour into the bread maker in that order. Make a small well in the flour and add the yeast there. Cover the yeast with flour and start the dough mode.
- Once the dough is ready, gently roll it into a ball by hand to release the air and remove the bubbles, then cover it. Let it rest for 15 minutes.
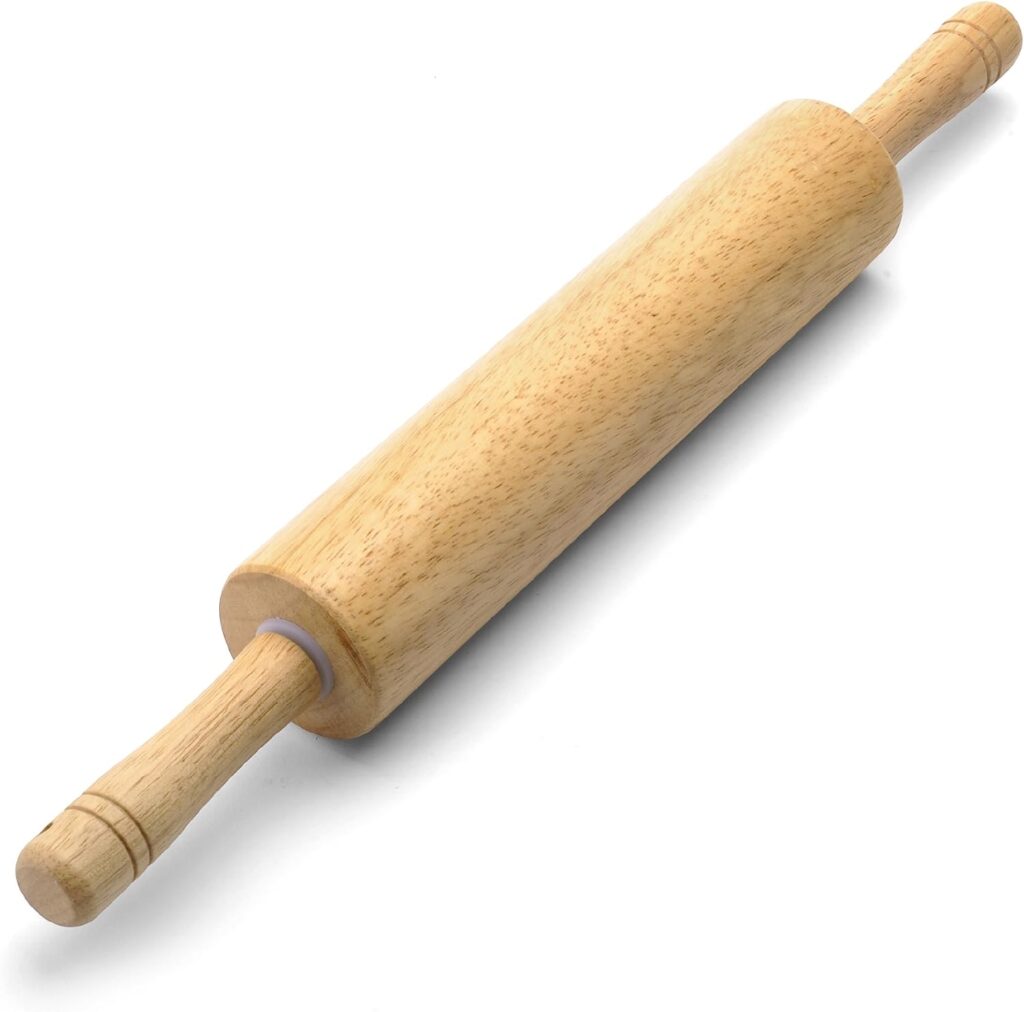
- Using a rolling pin, stretch the dough into a circle. Once it’s circular, divide the dough into 8 equal portions.
- Stretch the dough with a rolling pin to form a long triangle. The base of the triangle should be within 3 inches, which is ideal. This will be the length of the butter roll. While holding down the base and pulling the tip, use the rolling pin to stretch it to around 13 inches (about 33 centimeters).
- Starting from the base, loosely roll towards the tip, and firmly close the end of the dough underneath. Once all pieces are shaped, cover and let them ferment for 35 to 45 minutes。It can vary based on temperature, but a good rule of thumb is to let it rise until it’s about 1.5 times its original size.
- Brush the remaining beaten egg over the dough, then bake at 350 degrees Fahrenheit (175 degrees Celsius) for 10 to 12 minutes.
This powdered sugar shaker duster helps when the dough is sticky, allowing for easy flour application.
This article may contain affiliate links.
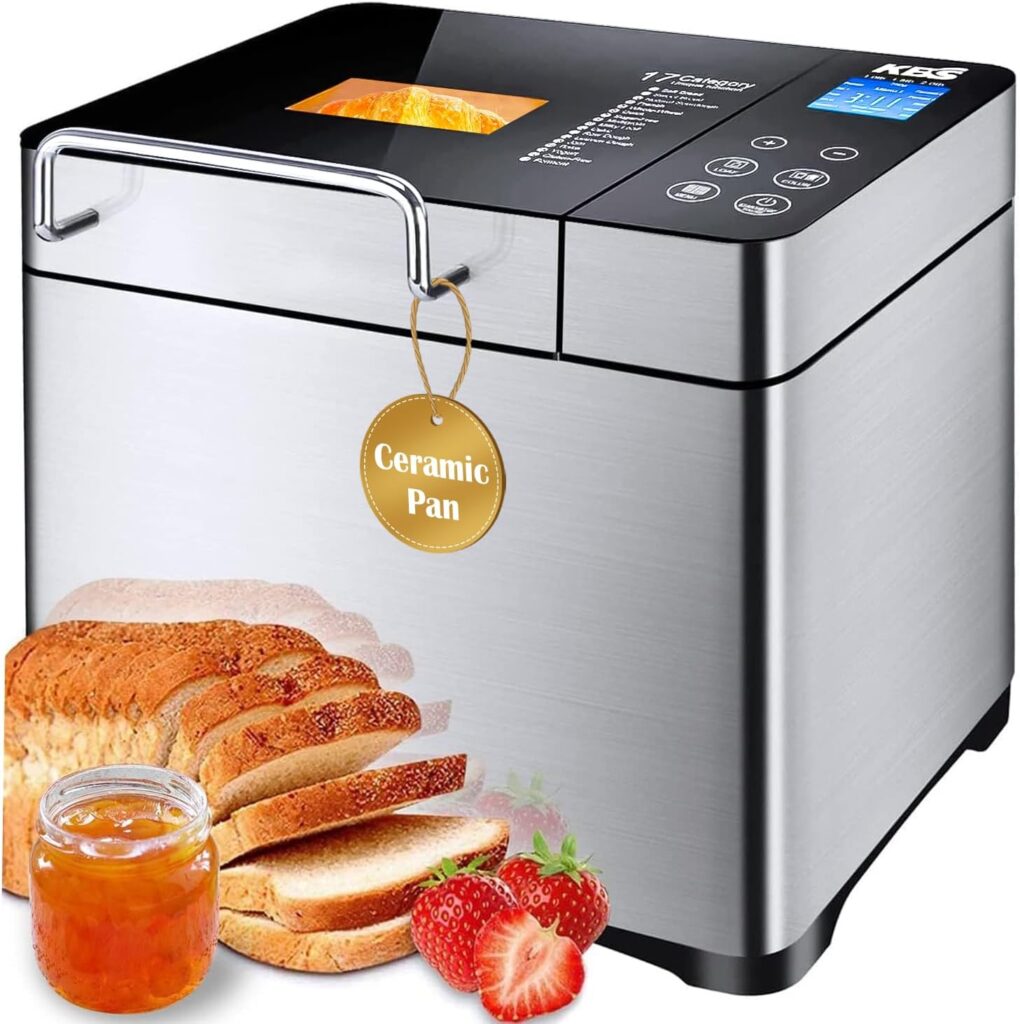
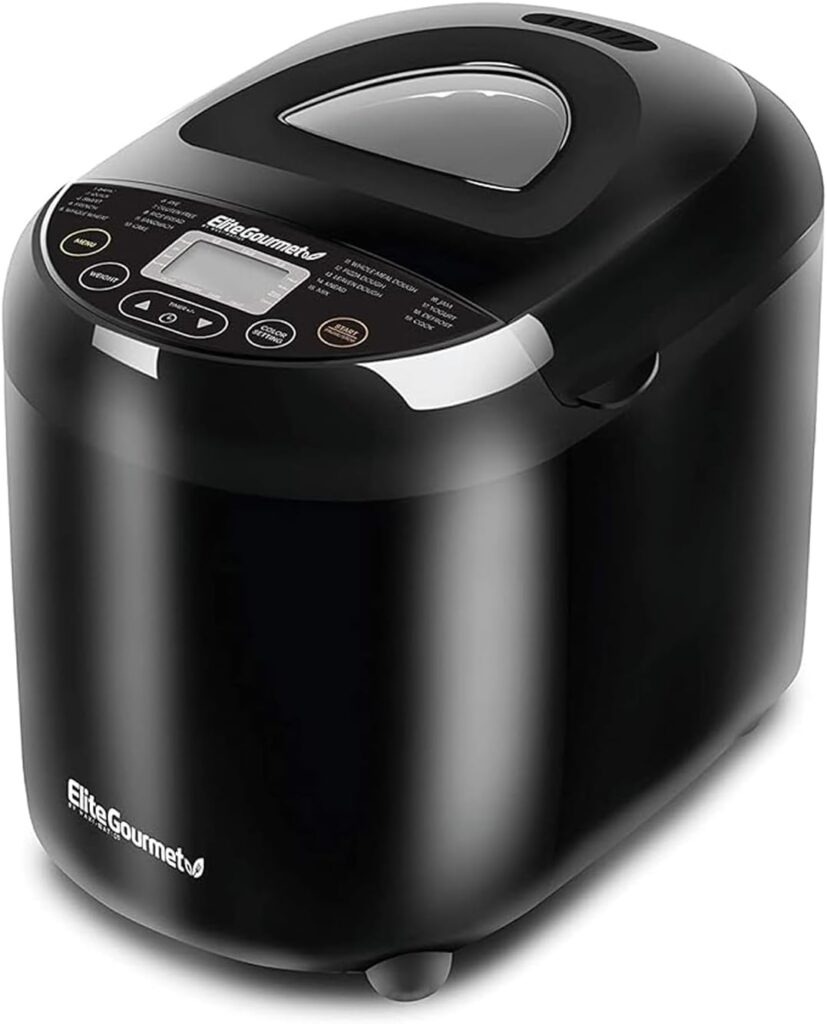
Suggestions and Tips for Using a Bread Machine
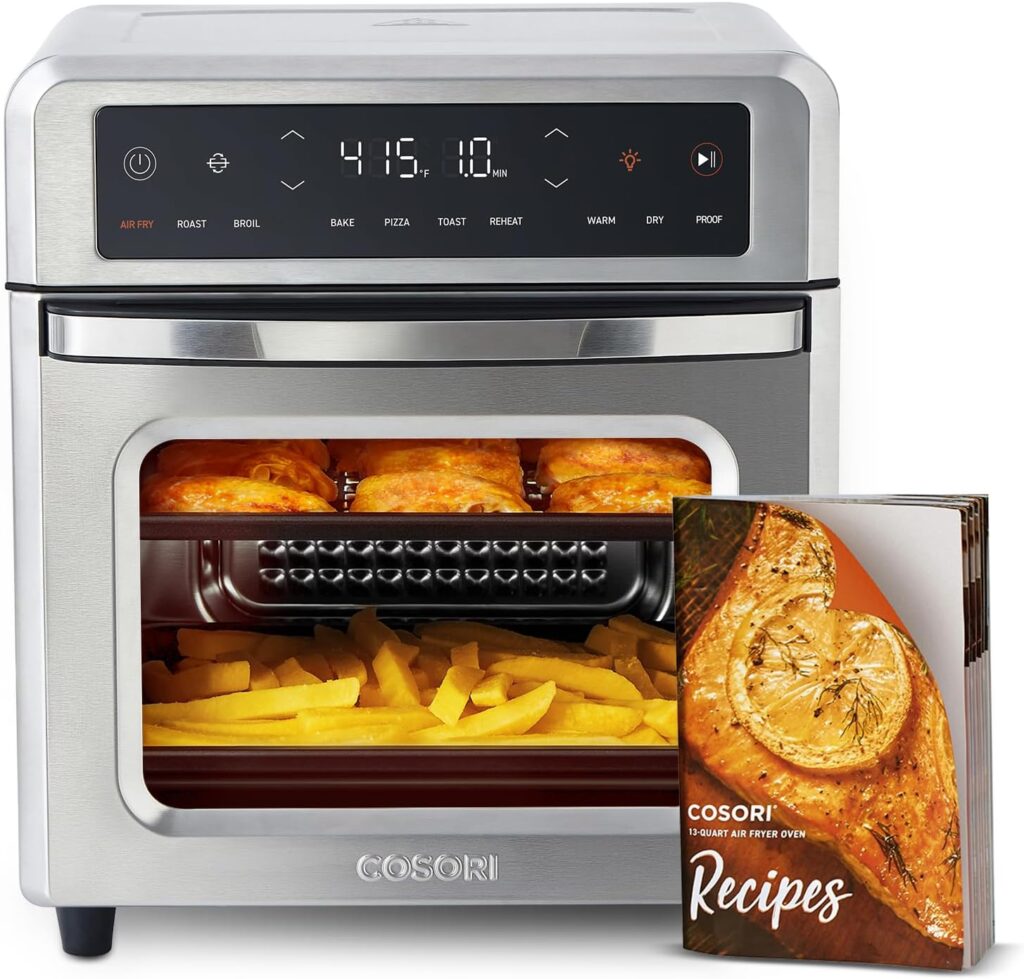
Quiet, Spacious, and Easy to Clean: The Perfect Air Fryer for Cooking for up to 6 People!!!
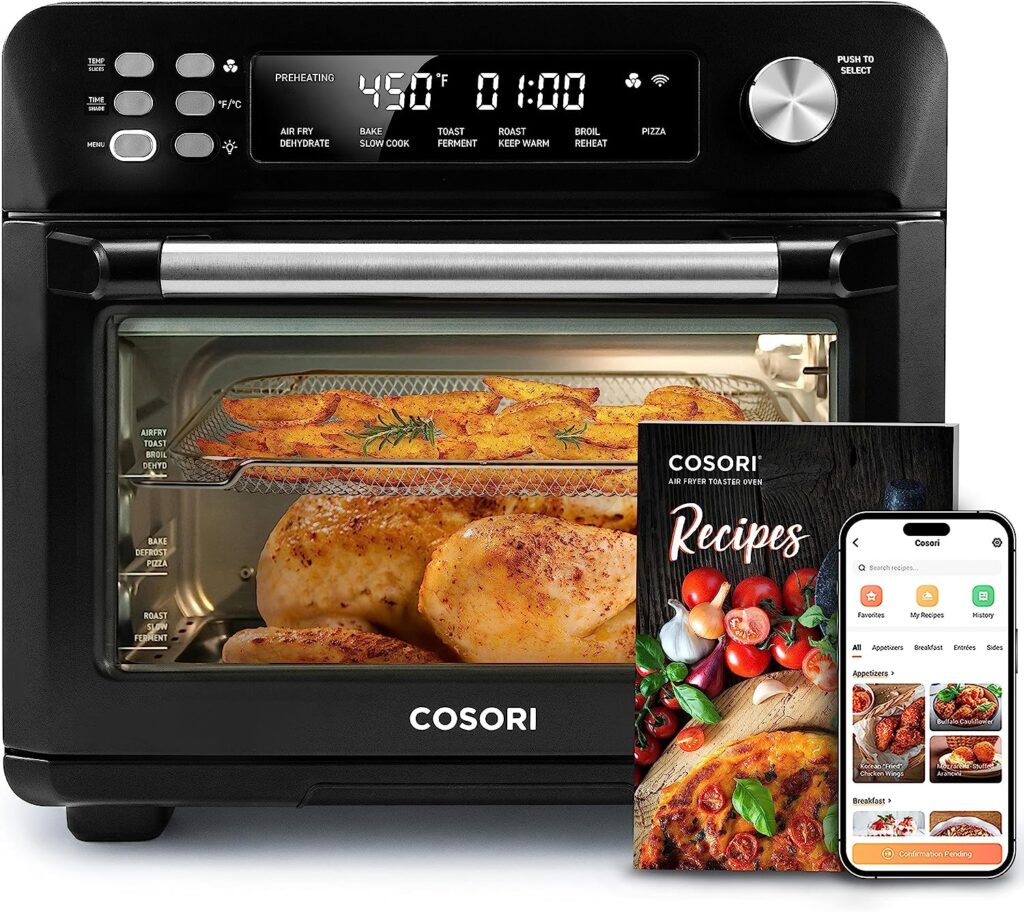
The air fryer I’m currently using is incredibly quiet! It’s also convenient because I can connect it to Alexa for easy operation. The controls are straightforward and user-friendly. The dimensions of the air fryer are 16.3″D x 16.9″W x 15.5″H, providing ample space to accommodate items from the oven. The inner dimensions allow for items measuring 13″D x 12″W x 7″H. I have no issues fitting the Staub Blazer Two-Handled Pot, 24cm. However, I’ve encountered a slight challenge with the Le Creuset rice cooker as its lid handle interferes with the oven, so when I make bread, I use the lid upside down.
Delicious Grilled Lamb Made Perfectly in the Air Fryer
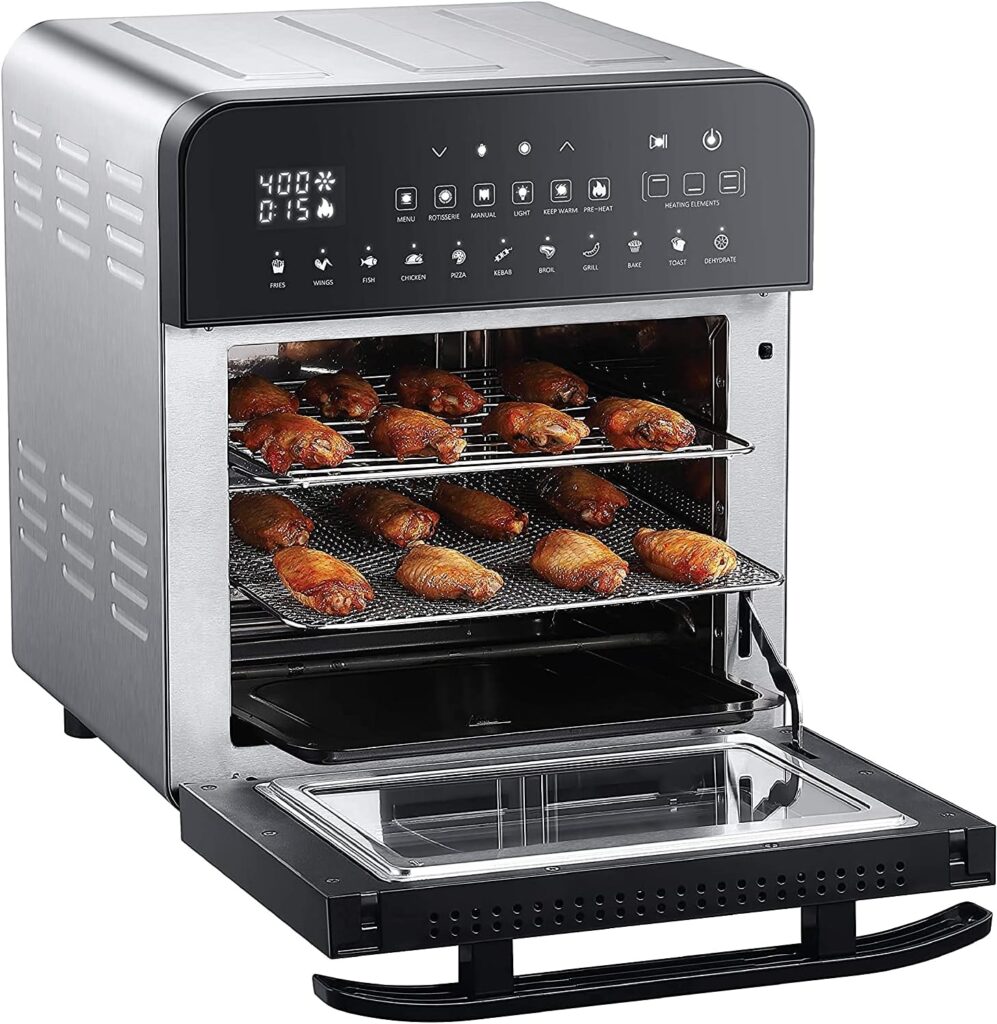
I absolutely loved the GoWISE air fryer. It was a hit among my friends as well. The best part was that it didn’t take up much space, yet offered a wide range of uses. Its dimensions are 12.75″D x 13″W x 14″H. Although it came with various accessories, I only used the grill and a few baking sheets. I wanted to cook quickly, clean up swiftly, and have more time to relax, so I even preferred to skip the time spent on attaching accessories.
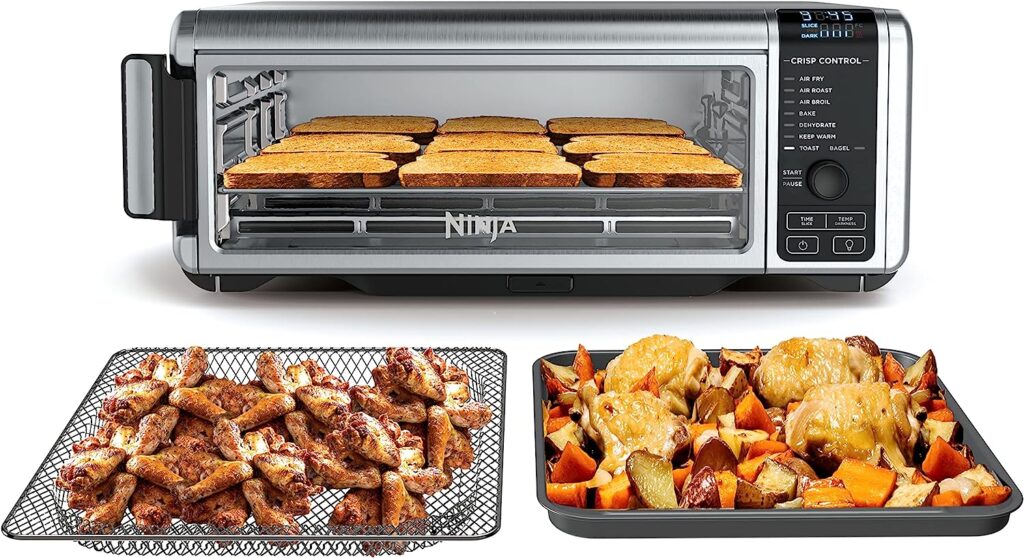
Ninja SP101 Digital Air Fry Countertop Oven
This air fryer reminds me of my previous GoWise model, but it’s slightly smaller in size, measuring at 3.5″D x 13″W x 14.5″H in dimensions.
It has an adorable appearance, and just like my current one, it features parallel electric cords on the top and bottom, making it easy to clean. The menu buttons are straightforward and user-friendly. I decided to try baking bread with this air fryer, and I was impressed by its quick and perfect results without the need for preheating.
I truly loved using it, but unfortunately, I had to return it because my Le Creuset rice pot didn’t fit inside. Since I often
