Learn How to Set Up Your DSLR for Capturing Amazing Photos!
Today’s topic may seem a bit geeky or nerdy, but it is incredibly important if you want to capture and preserve beautiful, memorable photos to adorn your walls. In this blog, I will be focusing specifically on photos that you display in your home. Don’t worry! I’ll keep it simple and easy to understand.
In a previous blog, I discussed the significance of having great photos of your kids. Now, I want to delve into the world of DSLR cameras and how to use them effectively. If you’re not interested in understanding the technical aspects of how a DSLR camera works and simply want to learn how to set it up, feel free to skip this section and proceed to section Step 1.
This is an incredible deal!
I previously owned the Canon Rebel T2 and T3, which were older versions of the T7. Currently, Amazon is offering a fantastic deal on the camera that includes two lenses. The EF18-55mm lens is perfect for everyday photography, while the EF75-300 lens is great for capturing shots of your kids’ sports activities or taking pictures from a distance, such as at the zoo.
Why are DSLR cameras so highly regarded?
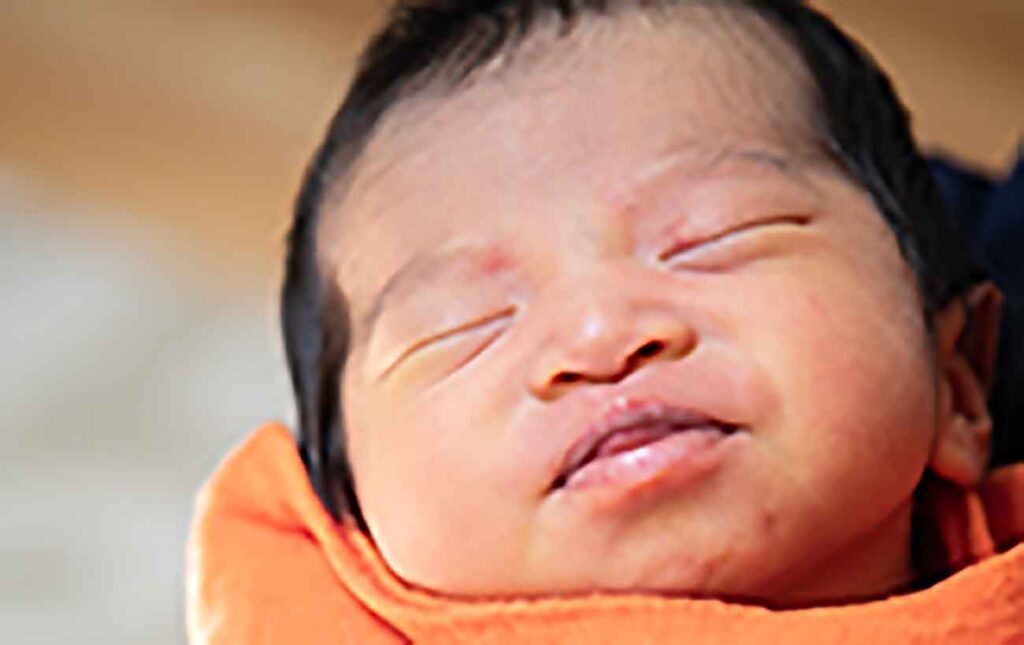
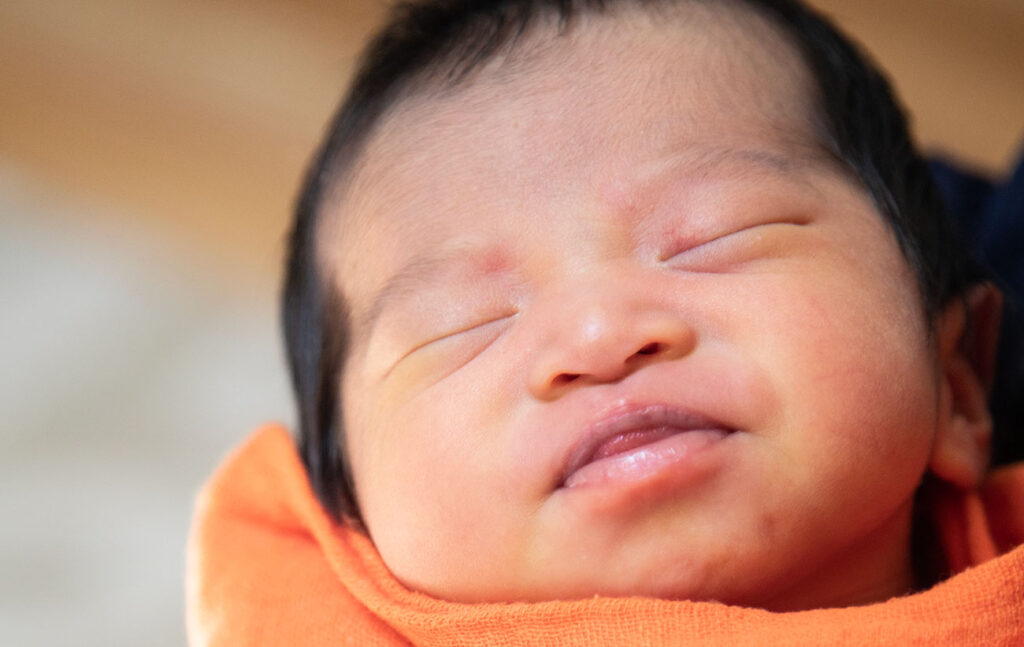
It’s primarily because they offer superior image quality. You might say, “Well, I don’t really care about image quality as long as I can store photos on my phone.” While that may hold true for digital storage, the difference becomes glaringly apparent when you decide to print those photos. High-resolution images truly make a significant impact in print. Here are two identical images, but with different resolutions. The image at the top is a low-resolution image, while the image at the bottom is a high-resolution image. The difference is clearly visible. The low-resolution image can be distracting and can diminish the beauty of your wall if you choose to decorate with it.


Now, I understand that photography encompasses various elements like ISO, aperture, shutter speed, lighting, and composition. However, in this blog, I won’t be delving into these aspects extensively, as this is not a photography class. Instead, consider this blog as a guide on how to set up your DSLR camera to capture those precious moments of your little ones.
Let's practice photographing one kid at a time outdoors on a sunny day. Here's a step-by-step guide!
Step 1:
Set your camera to AV or A (aperture priority mode) and choose the smallest aperture number possible. Typically, this would be around 4, but it may vary depending on your lens. If you have a lens with an aperture of 2.8, that’s great! Additionally, set your ISO to “Auto.” When you have sufficient light or bright lighting conditions, you won’t need to worry about slow shutter speed and high ISO settings, which can result in blurriness and increased noise in the photos.
With the smallest aperture selected in a well-lit situation, your camera should automatically choose a shutter speed faster than 1/100 sec. This is important to avoid any hand shaking in the photograph. For capturing moving kids, it is preferable to use a faster shutter speed. However, I will cover this topic in more detail at another time.
Step 2:
Frame the shot from the shoulders to the face, rather than including the entire body. Then activate the automatic selection and focus on the kid’s eye. Press the shutter button halfway to allow the camera to focus on the subject, and then press it all the way down to capture the photo. The resulting image should have the kid in sharp focus with a slightly blurred background. The amount of background blur will depend on the distance between the subject (kid) and the background.
Here are the examples of taking photos with different aperture. Small number apeture (f2.8) focuses on the subject while the large number aperture (f8) shows the background which is more distractive.
Comparing Aperture Settings

EF50mm
1/320 sec at f 2.8, ISO 100,

EF50mm
1/320 sec at f 8, ISO 500,
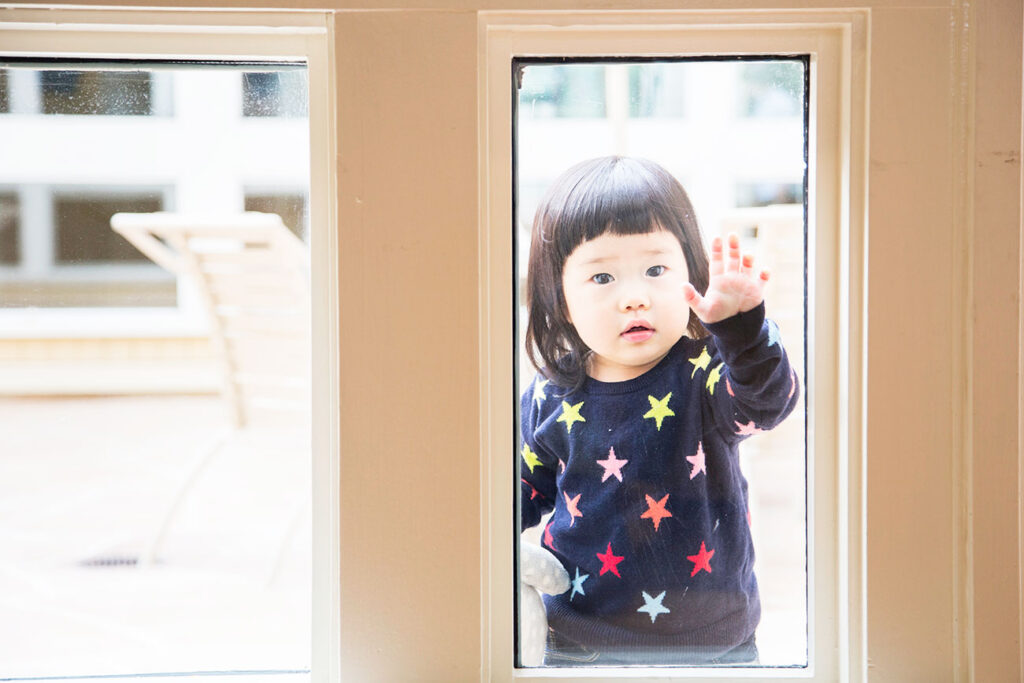
One additional point to consider when taking photos is that many people tend to try and fit the entire subject, such as children or animals, into the frame. However, unless there is a clear purpose, such as capturing a photo that clearly represents a specific location like the sea, hotel, and people in Hawaii, it’s not always necessary to include everything. In fact, including too much in the frame can sometimes result in a distracting background. Let’s compare the images below to see the difference.
Exploring Composition

EF50mm
1/320 sec at f 2.8, ISO 100,
This photo has an artistic effect with the focus on the subject and the background intentionally blurred.

EF50mm
1/320 sec at f 8, ISO 400,
On the other hand, this photo includes the entire subject, lacking an interesting element.
Frames
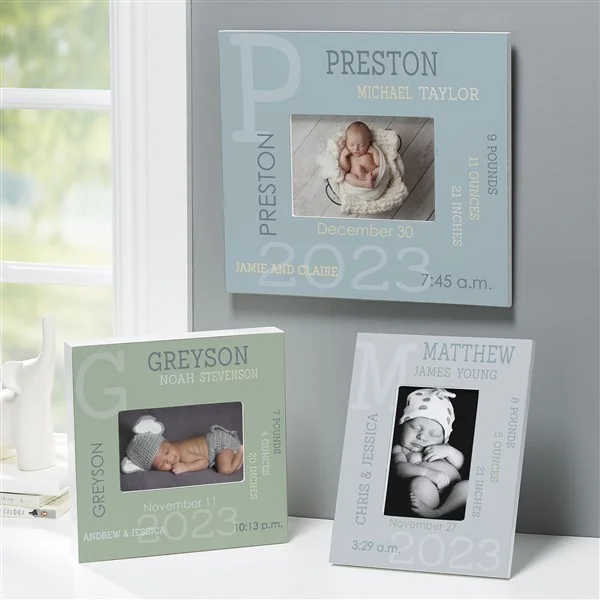
You have some great photos? Now let’s find personalized and nice frames! Here is the link for personalized frames. Their selection is quite wide, their products are of high quality, and they are reliable.
Their frames are also perfect for new moms.
Hiring a professional photographer is indeed the best way to capture the most beautiful photos. However, if you have knowledge of the camera settings I just explained, you can take great photos on your own when there is sufficient light available.


